Description
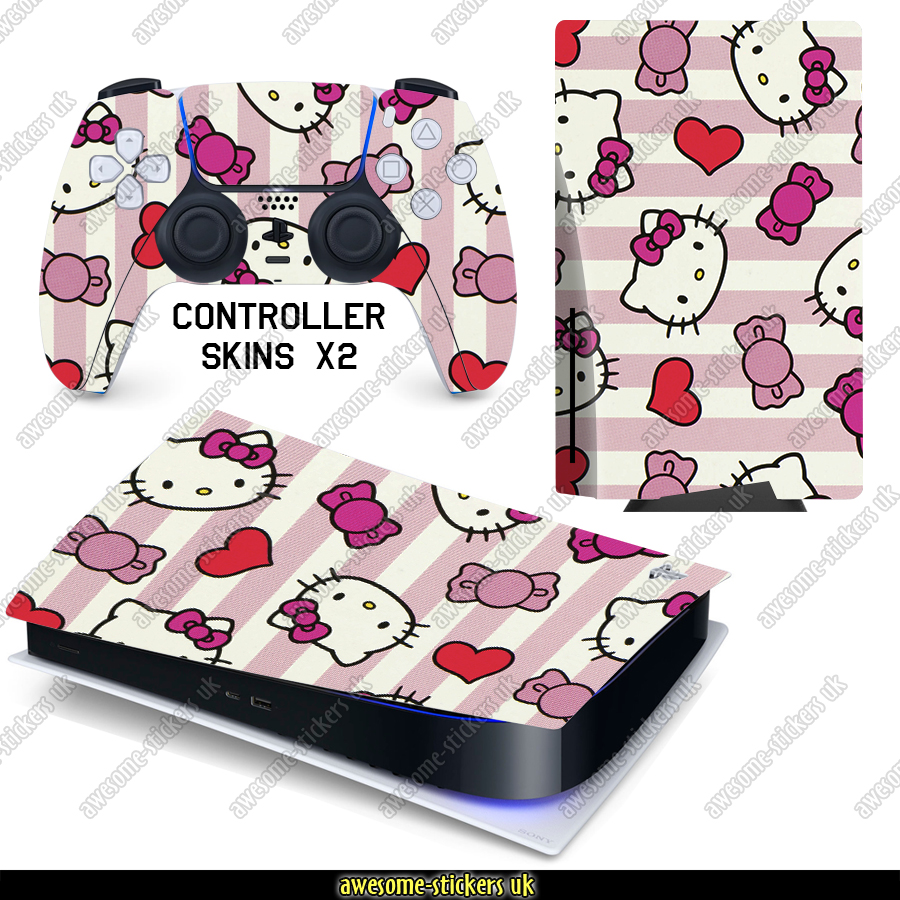
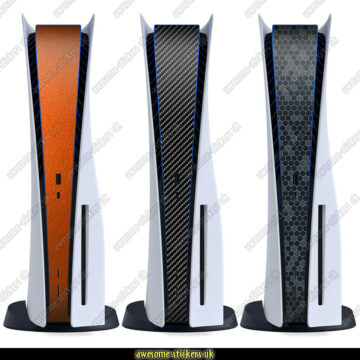
Pimp your Playstation 5 with some of our stunning skins! All colours are gloss unless stated otherwise.
- Premium quality vinyl material.
- Protects the console and controllers from scratches.
- Precisely cut for a perfect fit.
- Air release technology for bubble-free application.
- Very easy to apply and remove without any glue residue.
- Made in the UK.
- This IS NOT a replacement part, IT IS A VINYL WRAP/STICKER/SKIN.
- Front and rear console skin included, plus 2 sets of skins for the fronts of the controllers (as shown in photos).
- The controller stickers are supplied in 5 pieces.
- Our Playstation 5 skins materials are made from high-quality polymeric long-life vinyl.
- Images are mockups, for reference only. The actual colour may vary slightly due to different monitor settings.
- Available for Disc Edition and Digital Edition (make sure the correct edition is selected).
FITTING INSTRUCTIONS
As with fitting any sticker, it is important to start with a nice clean surface. To remove the larger pieces of vinyl from the backing paper, it is best to lay them face down on a hard surface, then gently peel back the backing paper. This prevents stretching of the vinyl. The vinyl has a low initial tack which becomes more sticky when you apply pressure and/or a little heat. They are easy to apply and need fitting dry. DO NOT use water.
During fitting, if you have air bubbles, just rub them with your thumb or a soft cloth, working out towards the edges. Air-release vinyl makes it very easy to push air bubbles out for a perfect finish. The vinyl will want to bunch up/wrinkle around the convex edges of the controller, but do not worry about this, it will be sorted out at the end of the fitting process. Just get all the stickers on to begin with.
For the piece that fits around the 2 large black buttons on the controller, we found it is best to first line up the middle part where the small cutouts are for the PS logo and speaker holes. Then work on the thinner parts that lead to the bottom edge of each side of the controller. Once they are in place, apply some heat using a hair dryer and mould the rest of the sticker around the thumb controls – it will easily stretch and conform into place.
After fitting, it is important to use a hair dryer to gently warm up the vinyl. Adding heat to the vinyl softens it up helps the adhesive bind firmly to the console and controller. All of those wrinkles around the edges will then disappear when you rub them with your thumb. Check the edges the next day, and if any have lifted up, just apply a little more heat and press them back down.

